
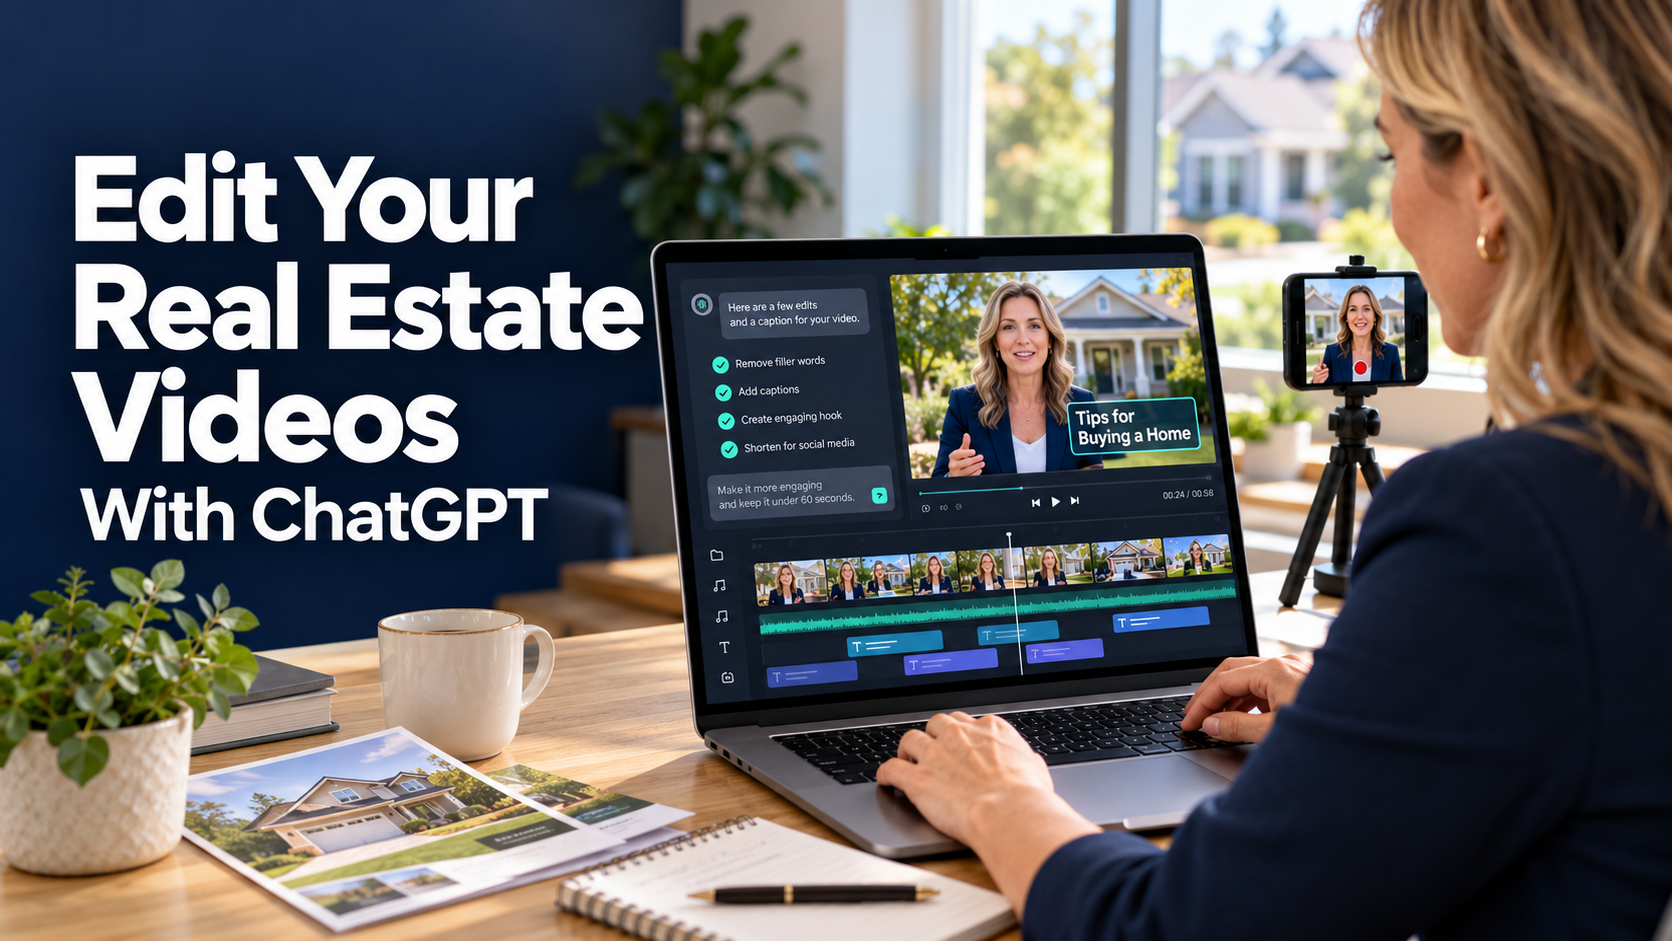
- ✓Start with one original recording that answers a client question, then finish one video before building a weekly production schedule.
- ✓The workflow uses the ChatGPT desktop app, Codex, and ChatCut to create a project, work with the footage, review an editable timeline, and export a finished file.
- ✓Keep the original recording intact, remove only failed takes and obvious restarts, and preserve the complete advice and its order.
- ✓Check captions, names, neighborhood references, prices, dates, and numbers before publishing a video.
- ✓Review each edit, save a version before major changes, and make one focused revision at a time.
You recorded a useful answer to a client question. Then you look at the footage: one restart, one long pause, and a sentence you want to say again, only better.
Your next job is to turn the footage into a finished video without messing up your advice.
You need a way to remove the failed take, tighten the pauses, add captions, and save a video ready for posting. This guide walks through the process, including the initial setup.
You will use ChatGPT’s desktop app, open Codex inside the app, and connect a video-editing plugin called ChatCut. Codex follows your editing instructions. ChatCut provides the footage, editable timeline, preview, and export.
Start with one client question and one recording. Finish one video before building a weekly production schedule.
What you need before starting
Have your computer, your ChatGPT account, a ChatCut account, and one original video recording ready. Keep your logo and extra property footage for a later pass.
For your first project, choose a short answer you already explain clearly. A question about preparing for listing photos works well because the advice fits into a short recording.
Save the recording somewhere easy to find. A folder named Real Estate Videos is enough. Keep a separate copy of the original footage.
Step 1: Install the desktop app and open Codex
OpenAI’s current instructions place Codex inside the ChatGPT desktop app. Follow the official download page for your computer:
https://learn.chatgpt.com/docs/app
Windows users should use the Windows download instructions:
https://learn.chatgpt.com/docs/windows/windows-app
1. Download the installer for your operating system.
2. Follow the installation prompts, then open the ChatGPT desktop app.
3. Sign in with your ChatGPT account.
4. Choose Codex in the app.
5. Start a New chat and choose a working folder when needed.
Use your Real Estate Videos folder for this project. Give the assistant access to the recording you intend to edit.
Think of this as the setup for the assistant you will give instructions to. You will write requests in plain language throughout this guide.
Step 2: Connect ChatCut
ChatCut supplies the editing tools for this workflow. Open https://chatcut.io and sign in or create your account.
Follow these installation steps:
1. Open your avatar menu in ChatCut.
2. Choose Agent Plugin.
3. Select Copy beside ChatGPT/Codex.
4. Return to a new Codex chat in the desktop app. Paste the copied installation prompt and send the message.
5. Complete the ChatCut authorization page the assistant opens.
6. Start a fresh Codex chat after installation. The plugin tools load when a new session starts.
Use the latest prompt from ChatCut. Its documented prompt on October 8, 2026, reads:
/goal Read chatcut.io/chatgpt to install the ChatCut plugin and set up a new task for me.
Paste the installation request into Codex in the desktop app. ChatCut’s documented installation route requires a supported desktop agent.
Official setup instructions:
https://chatcut.io/docs/agent-plugin
Step 3: Record one complete answer
Keep your answer to three parts: the question, your explanation, and the next step.
For example:
“Before your listing photos, clear the countertops, open the blinds, and put away personal paperwork. These steps help viewers see the rooms and keep private information out of your photos. Before spending money on more preparation, ask your Realtor which changes deserve attention.”
Record vertically for a vertical Reel. Face a window, hold your phone steady, and choose a quiet room. Film a short test and listen before recording the full answer.
For your first practice run, aim for roughly 45 to 90 seconds. Finish your thought first. Shorten the footage during editing.
If you stumble, pause and repeat the sentence from the beginning. Leave a small gap between takes so the editor has a clear place to start.
A clean recording reduces the work later. Move closer to the microphone if your voice sounds distant. Turn off nearby sources of noise before recording again.
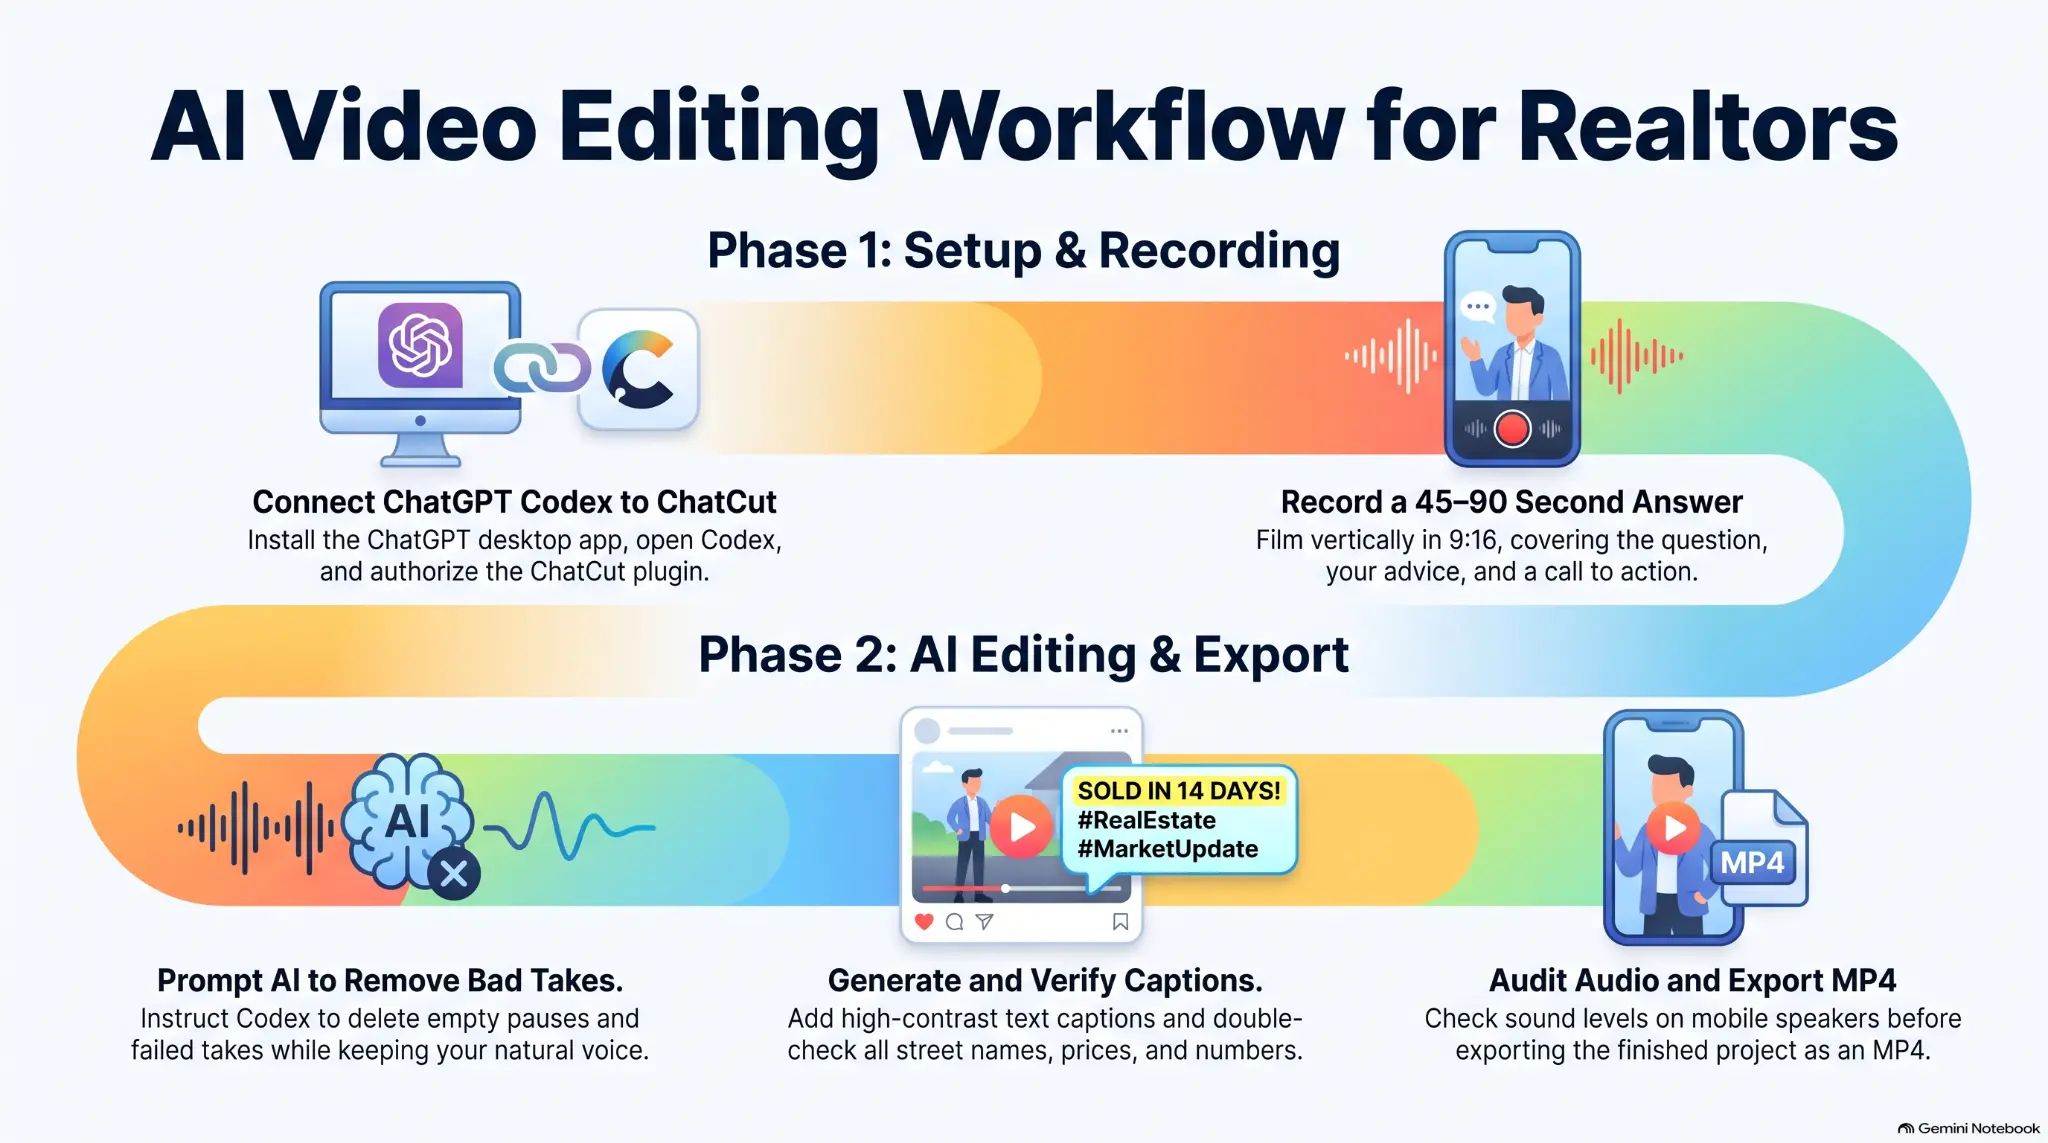
AI video editing workflow for Realtors from ChatGPT and ChatCut setup through captions, audio review, and MP4 export
Step 4: Create your first project
In your fresh Codex chat, give the assistant this request:
“Use ChatCut to create a project named Franklin Listing Photos Tips V1. Open the editor and prepare a vertical 9:16 timeline for my recording. Keep my original footage intact. Show me the project before editing.”
The connected editor appears in the assistant’s Browser panel. Keep the conversation available for instructions and the editor available for review.
Inside ChatCut, find these working areas:
My Assets holds your project footage.
The Viewer shows the frame at the current playhead position.
The Timeline shows the sequence of video and audio clips.
Transcript displays the spoken words for text-based editing.
Workspace shows or hides panels. If a needed panel disappears, enable the panel there or choose Reset to default.
Versions saves project snapshots. Export creates the finished file.
You only need these controls for the first edit. Learn additional features when a project requires them.
Step 5: Put the recording into the project
If the video is on your computer, open My Assets, then Upload, then Files. Choose the original recording and wait for processing to finish. Drag the processed asset onto the Timeline.
If the video is on your phone, choose My Assets, Upload, then From phone. Use the QR code or upload link to select your recording. Keep the phone upload page open until the transfer finishes.
A file attached to a prompt supplies context. Uploading through My Assets adds reusable project media. Confirm the recording appears on the timeline before requesting cuts.
For assistant-led import, identify the file:
“Use ChatCut to import the recording named Listing Photos Tips from my Real Estate Videos folder. Add the recording to this project’s timeline. Confirm the correct file and duration before editing.”
If the assistant asks you to select or upload the file, complete the requested step. A filename alone does not grant access to footage.
Step 6: Make the first editing request

More Closings. Fewer Financing Surprises.
Tired of deals dying because your buyer's lender dropped the ball? Keith is the mortgage partner listing agents call when they need deals protected, difficult files approved, and buyers who show up pre-qualified.
Use the Codex conversation to direct the connected editor:
“Use ChatCut to edit this recording into a vertical video. Keep the complete advice and the order of my points. Remove failed takes, obvious restarts, and empty pauses. Keep natural breathing and pacing. Use my original voice. Add a short opening title: Before Your Listing Photos. Show me the edited timeline before exporting. Leave music and extra footage out of this version.”
This request gives the editor a goal and boundaries. You want a clearer delivery while preserving the meaning.
Listen to the resulting edit. A pause helps the viewer absorb a point. Removing every gap often makes speech sound rushed.
If a cut removes a condition or part of the explanation, request a specific fix:
“Restore the sentence beginning ‘Before spending money.’ Keep the rest of the edit unchanged.”
For pacing:
“Restore more of the original pause between my second and third points. Keep the wording and order.”
The goal is a complete answer delivered clearly. Duration comes after meaning.
Step 7: Use the transcript to fix individual cuts
Open Transcript. If the panel is hidden, choose Workspace, then Transcript. Select the track containing your speech.
Click a word to move the playhead to the corresponding moment. Play the sentence before making a change.
To remove an unwanted spoken range, select the words and press Delete or Backspace. ChatCut removes the corresponding time range and closes the gap on the edited track.
Read the complete sentence on both sides of the cut. Then play the join. Listen for a clipped syllable, a missing thought, or an abrupt change in pace.
Use Undo if the edit goes too far. Save a project Version before a major revision so you have a restore point.
A transcript correction fixes text. If you spoke an incorrect fact, record a correction rather than displaying a different claim in the captions.
Step 8: Add captions and check every number
Once the speech edit works, request captions:
“Use ChatCut to add captions matching my speech. Use short phrases, clear contrast, and readable text. Keep captions away from my face and leave space around the edges for social platform controls. Preserve the current cuts.”
To adjust captions manually, use the Captions control in the playback area. The left side shows or hides captions. The chevron opens the style menu. Preview a style, then apply your choice.
You also have an option to save the current caption style for reuse.
Read each caption. Check street names, neighborhood names, prices, dates, and numbers. For a video about a Franklin listing, “Franklin” needs to appear correctly every time.
Review at phone size. Give the viewer enough time to read the text. If a phrase feels crowded, ask for shorter caption groups.
Caption edits belong in the caption Content controls. Deleting words in Transcript edits the spoken footage.
Step 9: Add property footage after the explanation works
For your first video, your face and captions are enough. Add supporting footage when the pictures help explain the point.
Upload your own kitchen footage through My Assets. Then ask:
“Show the kitchen clip I supplied while I discuss clearing countertops. Keep my voice underneath and mute the kitchen clip’s background audio. Return to my face for the next point. Keep the speech edit unchanged.”
Supporting footage like this is often called B-roll. The viewer sees the kitchen while hearing your explanation.
If viewers will interpret the images as showing your listing, use footage of the correct property. Verify the property details before adding text labels.
For a logo or name graphic, supply your approved asset and correct wording. Avoid giving the editor room to invent credentials, contact details, or property features.
Step 10: Review the sound and request focused revisions
Listen with headphones, then through your phone speaker. Check for background noise, uneven volume, and a voice sounding thin or distorted.
Describe the problem precisely:
“My voice becomes quieter during the last sentence. Review the audio and use supported adjustments to make the voice level more consistent. Keep the cuts, captions, and footage unchanged.”
Review the result after each change. Re-record a sentence when the source audio is too poor to understand clearly.
Save the current version before requesting a major revision. Change one problem at a time so you know which adjustment helped.
Step 11: Export the finished video
Give the assistant this request:
“Use ChatCut to export the approved timeline as an MP4. Tell me when the export finishes and provide the download. Keep the editable project for future revisions.”
For manual export, select Export in the editor header, choose Video, and select MP4 from the available settings. Keep the editor open while the export finishes. Use the export queue to download the completed file.
Watch the downloaded file from beginning to end. Check the opening, captions, sound, cuts, and ending. Make sure the file matches the approved timeline.
Save with a descriptive name, such as Franklin_Listing_Photos_Tips_V1.mp4. Use V2 for a later revision.
Step 12: Know which service charges for which work
Codex reasoning through the connected plugin uses the host’s subscription or API allowance. ChatCut-hosted media generation uses ChatCut credits.
ChatCut does not charge credits for uploads, manual timeline editing, transcription, standard caption editing, or file export. Conversations inside ChatCut’s built-in Agent use variable credits. Generated media adds charges based on the service used.
As checked October 8, 2026, ChatCut’s Free plan includes 20 starting credits and a cumulative 60-minute web/cloud export quota. Pro removes this quota while active. Open the account’s Upgrade screen for the current price and entitlements.
Start with your own recording, captions, and cuts. Add generated footage, music, or voiceover when the project has a specific need. Review the estimate before submitting a generation request.
If you want to edit directly inside ChatCut
After learning the editor, you also have the option to make requests in ChatCut’s own AI panel.
Open the project, keep the composer set to Agent, enter your editing request, and send the message. Use the same limits on speech removal, pacing, captions, and added footage. Review the timeline before exporting.
Use this route when you prefer working in the editor itself. The built-in Agent uses ChatCut’s credit system, as described above.
When something does not look right
If the assistant cannot find ChatCut, confirm you completed authorization and started a fresh Codex chat after installation. Ask the assistant to check the plugin connection before continuing.
If your video appears in My Assets but the preview is empty, confirm the processed asset has been added to the timeline.
If captions are unavailable, select the speech track and wait for transcription to finish.
If Export is disabled, confirm the active timeline contains a clip.
If the cut sounds rushed, restore source pauses or undo the last change. Review the restored section before making another request.
Keep your next project simple
After approving a few videos, save the prompt you prefer. Include your title style, caption placement, pacing, and instructions for preserving your advice.
For the next video, change the topic and supplied footage. Reuse the working process.
You choose the question, supply the expertise, record the answer, and approve the result. A virtual assistant organizes recordings, prepares posting drafts, and tracks approved exports.
Measure production time, caption corrections, revisions, and cost. For business results, track replies, booked conversations, and referral opportunities alongside views.
Start with one question you answered this week. Record the answer and finish one video.
Got a buyer question involving financing? Send me the scenario before recording an answer based on assumptions. We will review the details and give your audience a clearer next step.
Have a buyer who needs a lender? Send them to keithgo.com. I'll help them work through their financing options.
Sources
These links support the regulated, policy, or time-sensitive claims in this alert. Confirm current rules directly with the named source.
Frequently Asked Questions
Can a Realtor use ChatGPT to edit an original video?
The workflow in this guide uses the ChatGPT desktop app, Codex, and ChatCut to prepare and edit an original recording. The Realtor supplies the recording, gives the instructions, reviews the timeline, and approves the export.
What does a Realtor need before starting the first video edit?
The guide calls for a computer, a ChatGPT account, a ChatCut account, and one original video recording. It also recommends keeping the original recording in an easy-to-find folder before editing begins.
How should a Realtor handle a restart or long pause in a recording?
The guide recommends leaving a small gap between takes, then asking the editor to remove failed takes, obvious restarts, and empty pauses while preserving natural breathing and pacing. Review the resulting edit before exporting.
Why should Realtors check captions before posting a video?
Captions can introduce errors in street names, neighborhood names, prices, dates, and other numbers. Review captions at phone size and correct crowded or inaccurate text before publishing.
Should a Realtor add property footage to the first video?
The guide recommends getting the face-and-captions version working first. Add supporting footage only when it helps explain the point, and use the correct property footage when viewers could interpret it as showing a listing.

Keith has helped 2,980+ families close on homes across 12+ markets over 24+ years, with $310M+ in closed loans. He specializes in difficult files, listing-agent partnerships, and the kind of complex deals most lenders turn away.
He writes the Realtor Money Alerts to give agents the plays, programs, and systems that protect deals and generate more closings.
Want plays like this every week?
Drop your email and I'll send you the next one first.
Let's Talk About Your Business
If you want to see if we can get more buyers and sellers for you, a 15-minute call is all it takes. No pitch. No pressure. Just a real conversation about your business.
Keith works with a small number of agents in each market. If there is a fit, you will know by the end of the call.
"Keith helped us get an offer on a $2.8 million dollar listing in Arrington, TN with a custom funnel. Incredible results."
"Keith has been instrumental in the growth of our listing leads coming in. He is a true partner."
We help you grow your business and get you more clients · Keith Goeringer NMLS #488023 · No obligation